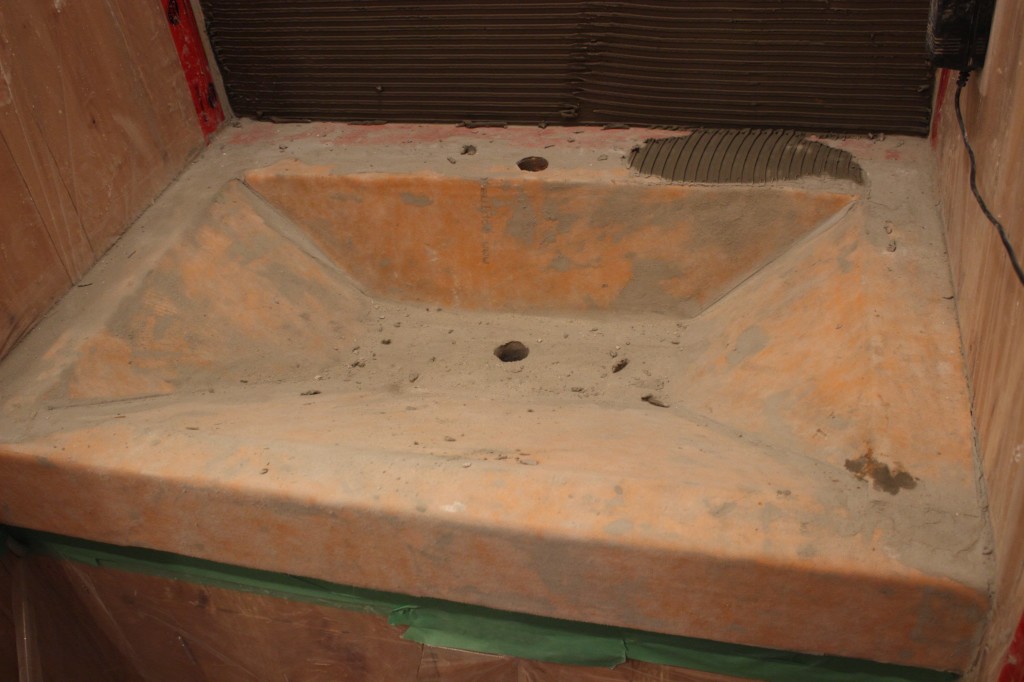
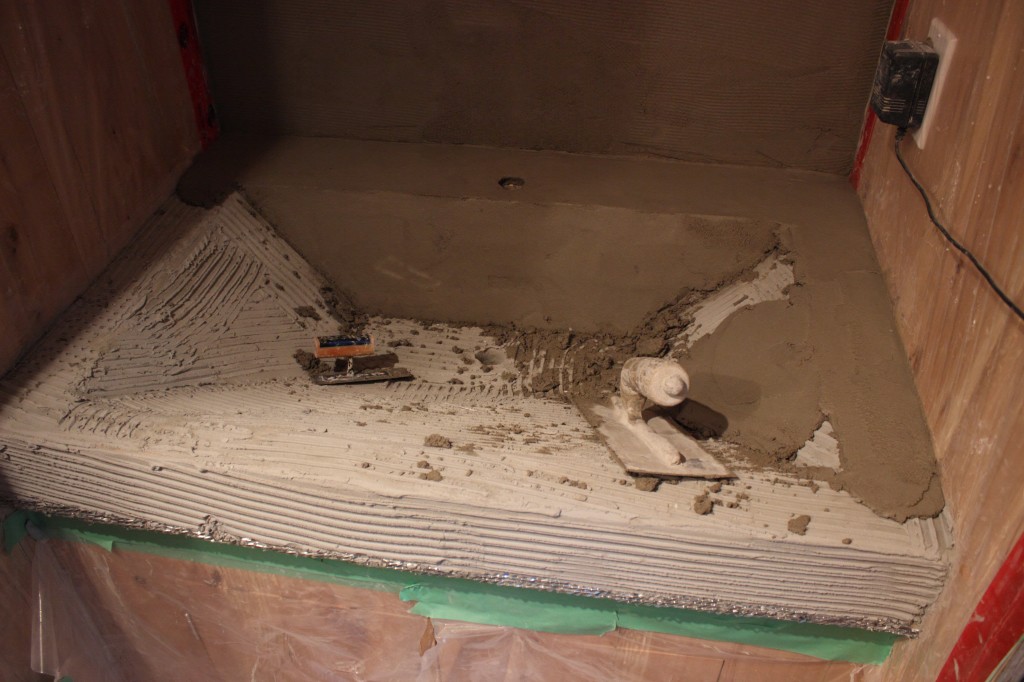
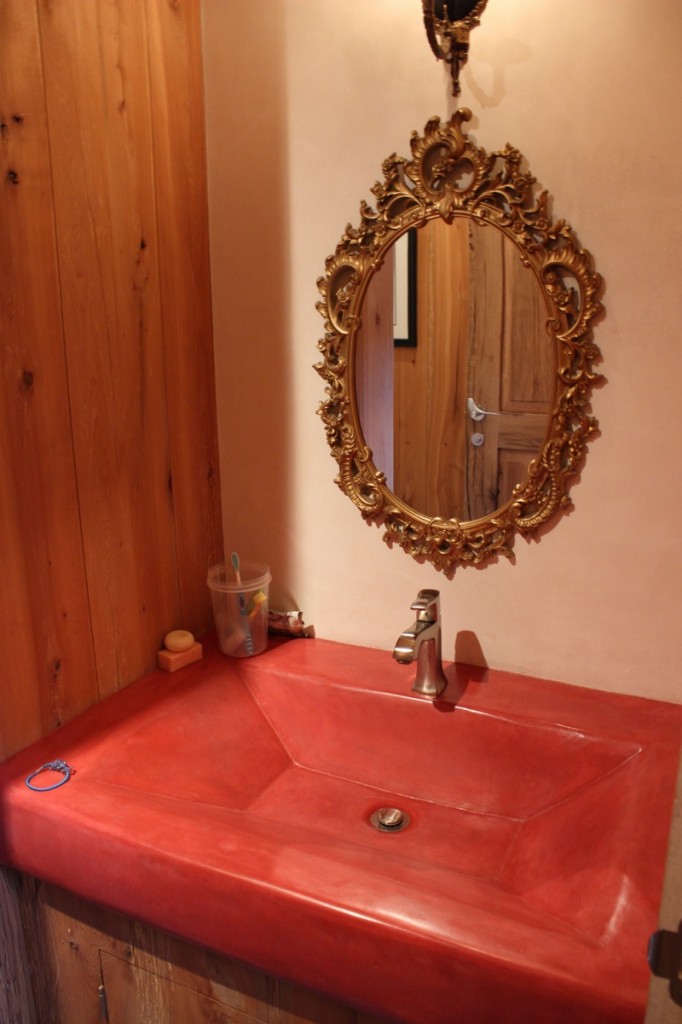
The key with most plasters is to have a good quality substrate, and this is especially true with tadelakt. Here are the steps to prepare your substrate for tadelakt, starting with a framed wall.
Over a stud frame
1. Hang cement board – leave roughly 1/8” gap for expansion / contraction.
2. Fill gap at joints with thinset, allow it to dry.
3. Cover joints with mesh tape / mud with thinset. Allow to dry.
4. Scratch a coat of thinset over whole surface (fairly coarse scratch – mix thinset a little dry).
5. Add 1/2” of cement-lime (or lime) to provide ‘suction’ – a reservoir for water. Apply flat and evenly with a square trowel.
6. Sponge surface of this absorptive base coat when it is partly set up – use the sponge to roughen the surface for adhesion of next coat, and to help level the surface.
7. Wait at least a week for the coat to cure.
In wet areas such as showers use waterproofing layers. I recommend Schluter Kerdi fabric because it can easily be added in the usual prep layers. Complete steps 1-3 above, then
• coat cement board with thinset (use a slightly wetter mix than usual) and
• lay Kerdi fabric over top, press out any bubbles. Follow all directions for using Kerdi fabric, including the use of unmodified thinset.
• Scratch with thinset over Kerdi, then
• Trowel on cement-lime layer as described above (steps 4-7).
Do you want more information like this? Buy our book: Essential Natural Plasters


